A Minnie Mouse Birthday Party!
The three-year-old is turning four! Where did the time go?
Wee One requested a Minnie Mouse themed party and I was happy to oblige. Who could turn down this sweet face?
Since school was finally out for summer, I had a little time to prep.
Invitations
We had a little photo shoot in the front yard. It was difficult to choose the cover photo. I petitioned my family to vote for their favorite. This was their choice.
I printed the pictures at Costco and used the Cricut to cut out a little phrase to place on the front of the card. I think they turned out cute. Don't you?
Decorations
I used the Cricut to create a birthday sign. I did not wish to spend the high price on a new cartridge so I used what I had. I cut out circles in 5-inch and 3-inch sizes to make the mouse silhouette. I also found a butterfly shape on my garden cartridge and used it to make Minnie's bow. I just cut off the body and glued it into place.
Pinata
I made my own pinata to fit with the theme. While it was a LOT of work, I am very pleased with the result. So was Wee One!! You can find the
tutorial here!
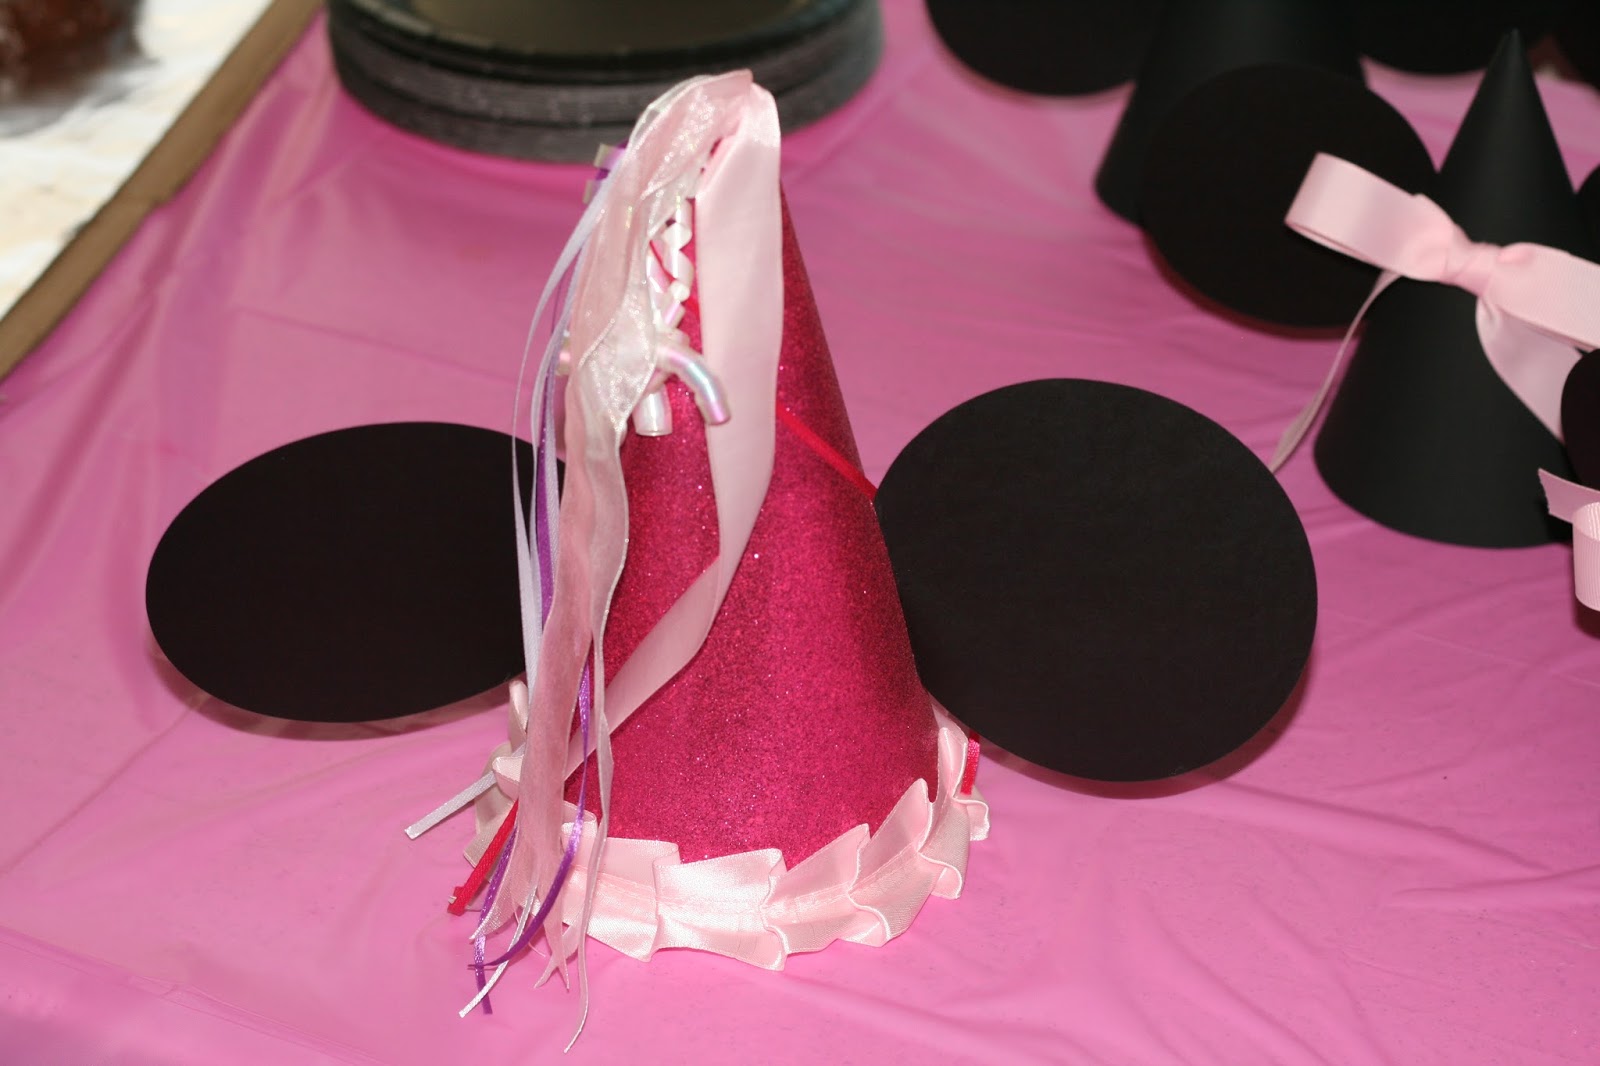
Party Hats
Party hats were made for the younger guests. Of course they had to fit the theme! You can find the
tutorial here!
Games
In addition to the pinata, we played "Pin the Bow on Wee One". It was a cute game and I found it on Pinterest. Where? I can't remember but if you are the one who came up with the idea, you are BRILLIANT!
Cakes
What is a party without birthday cake? Rather, what is a party without
chocolate cake?! I made the Minnie Mouse cake by baking one rectangle cake and one round cake. I cut two circles from the rectangle cake to make ears. I placed together to form the iconic silhouette and frosted the entire thing. I then added a bow shaped box lid which I found from the dollar bin at Target. Perfect!
We also had Minnie Mouse cupcakes (thanks to Pinterest for the idea). I made strawberry cupcakes with cream cheese frosting and adorned them with one standard Oreo and two mini Oreos for ears. The bows were cut from a
sheet of sugar purchased at Michael's.
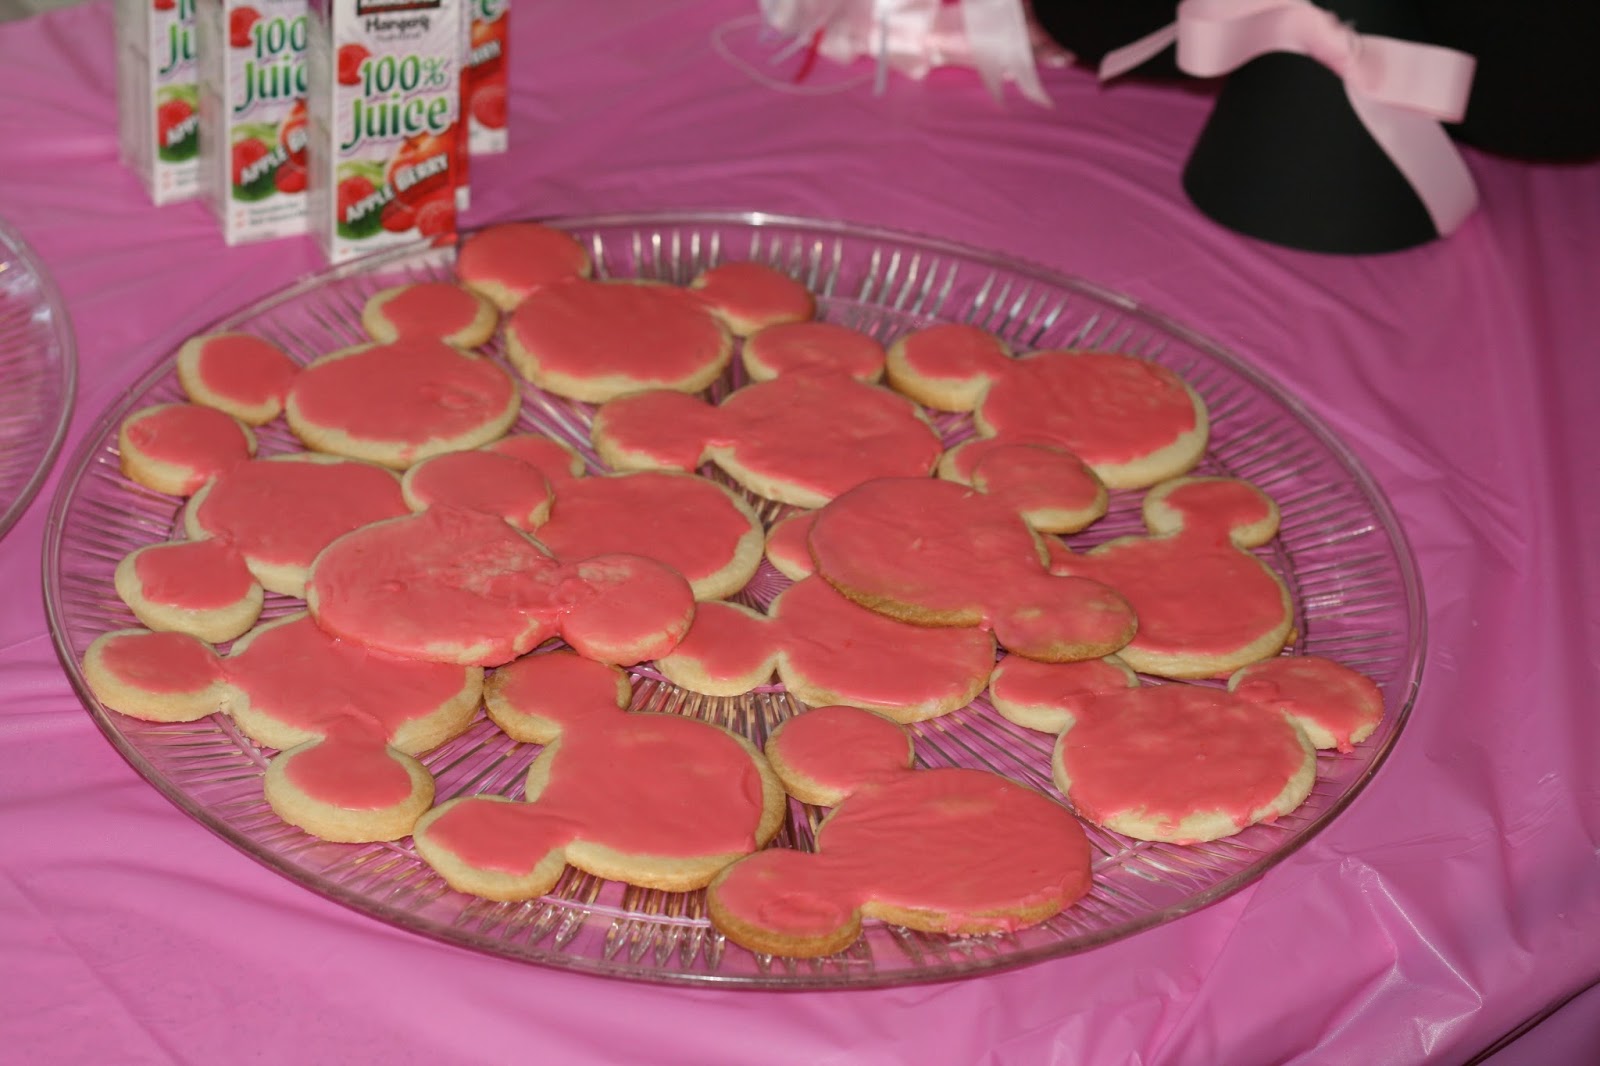
I thought about using my mouse ear cookie cutter the moment I knew we were having a Minnie Mouse party. These sugar cookies were tricky to make as the ears kept breaking off! What you see on this platter is the best of the bunch. Although they did not turn out as expected, they were delicious! The recipe for the
cookies and the
icing can be found at these links.
Goodie Bags
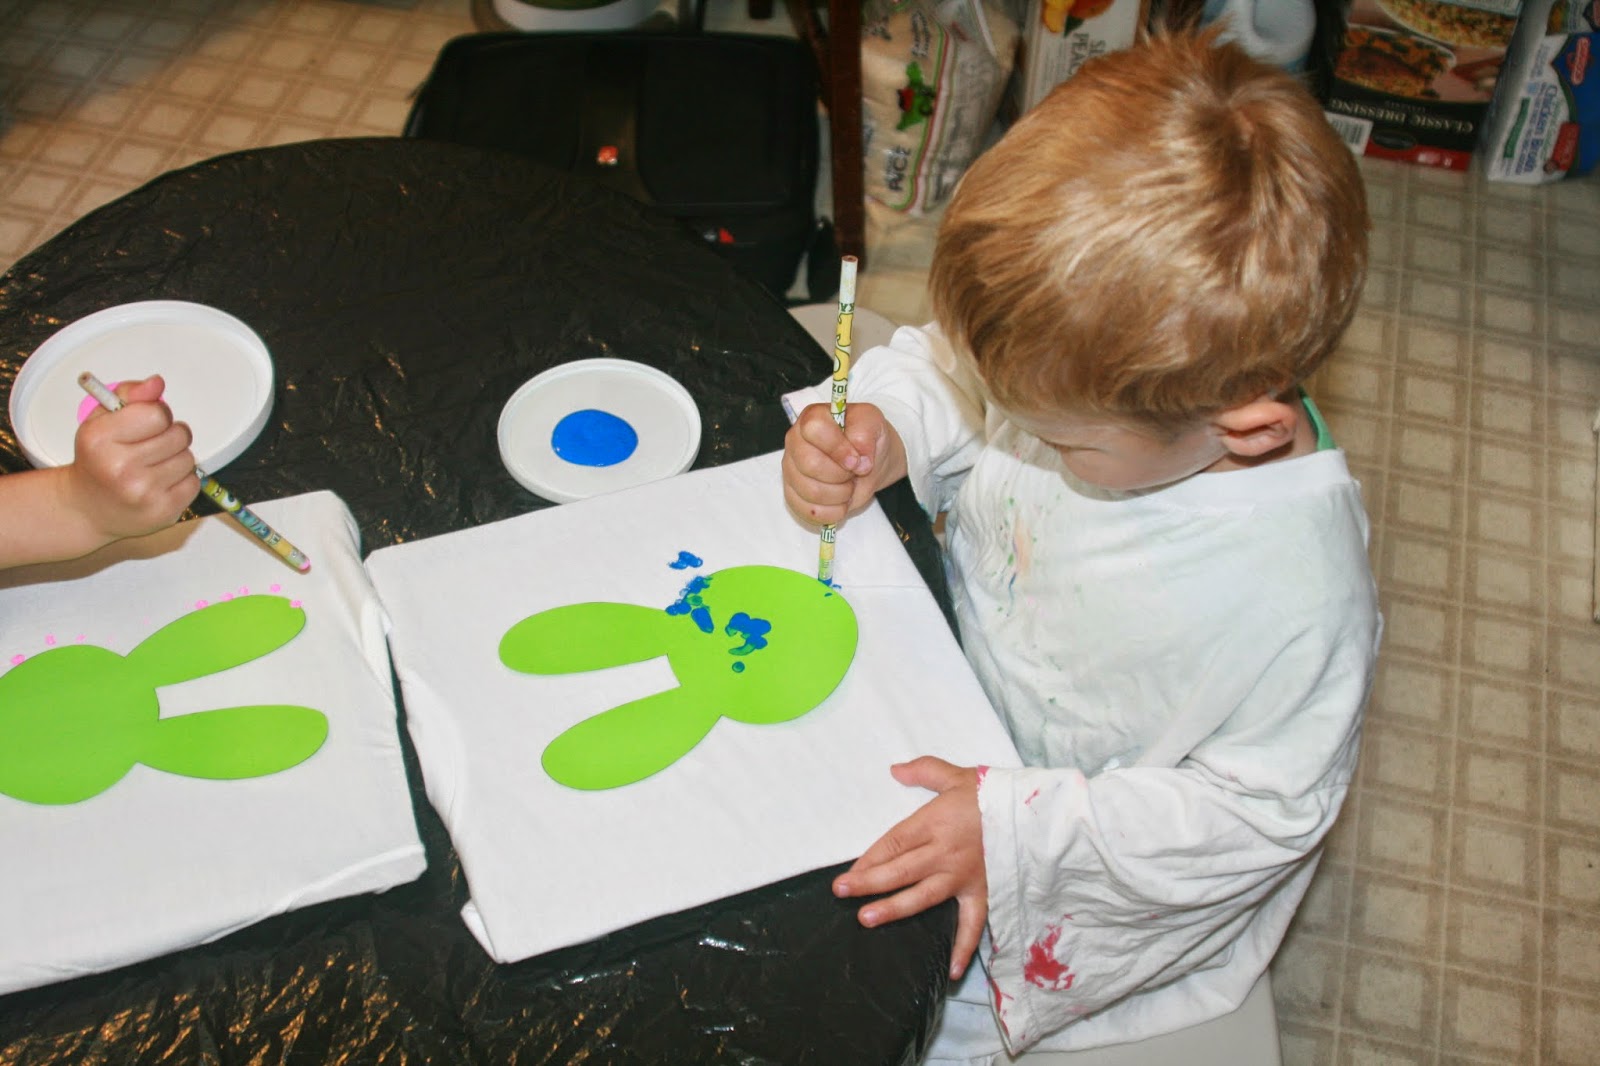
I used the Minnie Mouse heads I cut out with the Cricut, to decorate white paper bags. I filled each one with summer time treats! The kiddos were very excited about the popsicle molds. I also added a thematic coloring book to each bag. I made it by downloading black and white graphics from Google Images.
Everyone seemed to have a wonderful time... even in the 100 degree heat.
Happy 4th birthday, Wee One!
We love you soo much!!