Showing posts with label kids. Show all posts

Thursday, April 30, 2015

We are... because of God

Yesterday morning, Wee One and I walked into school with one of her friends.  The friend immediately shared, "You know what I have been thinking about? Where I come from.  I know I came from my mom, and her mom came from her mother, and her mother came from her mother but where did it all start? Why am I here? This is what keeps me up at night." 

The kid is 5.

Wee One did not comment but took my hand as we peeled away to enter the classroom.  While the friend was busy putting her belongings into a cubby, I asked her how she would have answered the friend's question.  She proudly replied, "From God!"  I was beaming but at the same time, I was a tad unsettled.  In this highly competitive academic environment, parents are always comparing their children and looking for ways to gain the edge.  While I try to stay distant from such behavior, it is easy to get sucked in and worry my own children will somehow be behind.  To my knowledge, my daughter does not ponder such big questions. 

I shared this event with my husband later that evening.  His response was filled with wisdom and eased my mind.  "Maybe the reason she doesn't worry about such things is because she already knows.  She is confident in knowing where she came from and why she is here."

Thank you, God, for blessing our family! My most enduring prayer has been that my children would know the Lord and would confess Him before others.  Thank you, Jason for helping me see we are on the right track. 

Are you looking for a way to find this confidence?  Do you wish to impart it in your own family?  With faith and obedience in Christ Jesus comes peace, true happiness and freedom.  Connect with other Christians. Look for a Church in your area.  Attend Bible class. Study God's Word.  Do not be lured into thinking the ways of this world, or the things it contains, are to be sought after. 

A more meaningful life exists!


Tuesday, July 15, 2014

DIY Cake Picks

I love homemade desserts!  Who doesn't?!  I especially love seeing how desserts are presented.  People definitely unleash their creativity on dessert plates.  Birthday parties are no exception.

Cake picks have become HUGE in the party industry... and they aren't cheap!  I have taken to making my own cake picks to reinforce the theme.  Thus far I have crafted flowers with the child's age on them, Peppa and George Pig, monsters, tractors, Minnie Mouse, farm animals and now pirates.  With a few items and a little bit of time, it is easy to create personalized cake picks.

Here's how...

1.  Gather your materials: card stock, images, sandwich picks or coffee stirrers, hot glue gun, hot glue sticks, and Cricut, scissors, or a craft punch.


2.  Design your images and print onto card stock.  I am not a design expert but I can use Microsoft Publisher.  I usually troll on Google Images for a graphic I like and bring it into the document.  For my son's upcoming pirate party, I used this adorable pirate found here to design the front of the pick.  I copied the image to fill a page for printing.

Once printed onto card stock, cut out each circle.  This can be done by hand or with an appropriately sized round craft punch.


3.  Cut the backs of the picks out of another color of card stock, sized slightly larger than the first.  My pirates were 2-inches in diameter so I sized the backs at 2 1/2-inches and used a Cricut to cut them from black card stock.  A punch could also be used.


4.  Using hot glue, run a bead 1/4th of the way down one side of the wooden sandwich pick.  Quickly apply and center the image to the bead, then press into place.


5.  Apply a bead 1/4th of the way down the other side of the wooden sandwich pick.  Quickly apply and center the backing, then press into place.  This hides the mechanics well.


6.  Use one image for a cluster effect or create a variety to mix it up.  I added crossed swords, a cute skull and crossbones and a parrot guarding treasure.   These picks are ready to top some cupcakes!


7.  These picks also work great using coffee stirrers in place of sandwich picks for placement in guests' drinks, much like that iconic umbrella!


Sunday, June 29, 2014

Easy Holiday Tees

I love to make the holidays special for my family.  Crafts are huge in our house and when I can put the kiddos to work to make their own holiday attire, I do!  They are always soo proud to wear their creations.  These holiday tees are not only easy but totally adorable! 

The process.

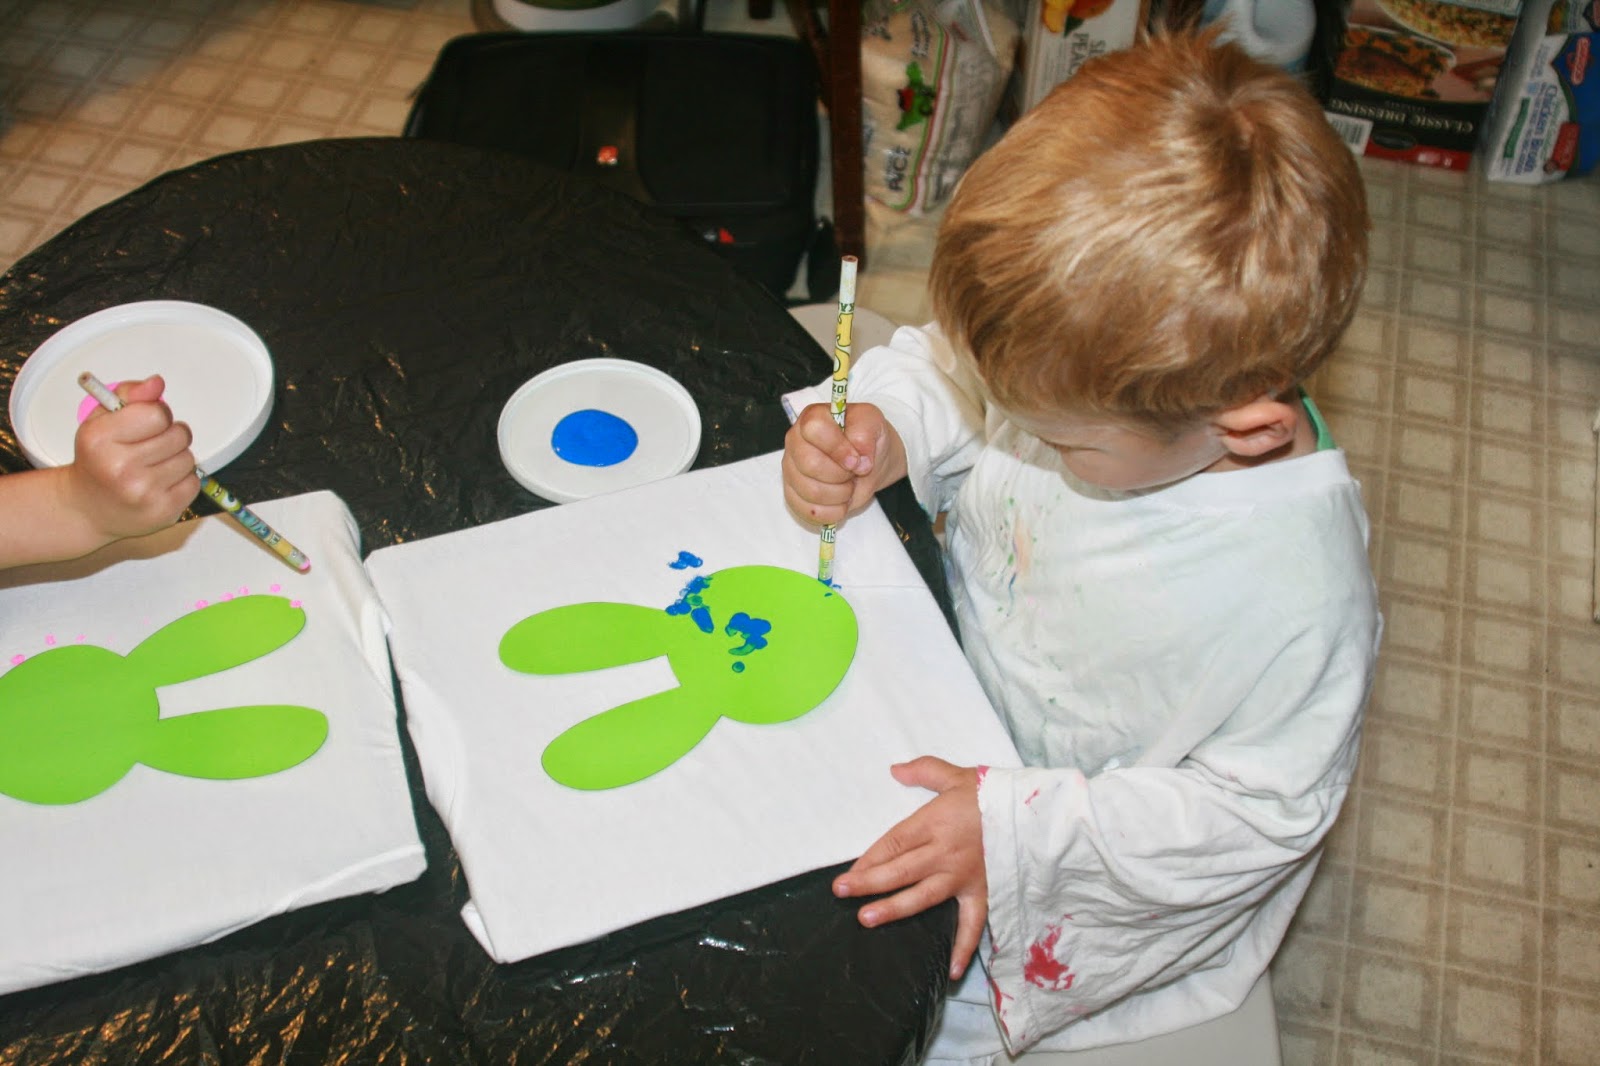
1.  Gather the supplies.  You need a cardboard box, packing tape, image copied onto card stock, plain tee, scissors, plastic lid, new pencil with attached eraser, fabric paint, and embellishments if desired.


2.  Prep the tee.  Slip a cardboard sheet into the tee, and fold the shirt around the box, and tape to secure. 


3. Cut out the desired image from the card stock and tape securely to the front, center of the tee.  These tees were for Easter but a shamrock for St. Patrick's Day, a heart for Valentine's Day or a tree for Christmas would all be lots of fun!


4. After placing a little fabric paint into a plastic lid, let the kiddos paint around the outside of the image using the eraser end of the pencil.  Make sure the kids get paint around the entire edge of the image so it will show clearly once the image is removed.


5.  Allow tee to dry then remove the card stock image.  Send through the wash, then wear!  Add embellishments like a bow on the bunny's head or under the chin, if desired.


Tuesday, July 30, 2013

Minnie Mouse Birthday

A Minnie Mouse Birthday Party!


The three-year-old is turning four!  Where did the time go?


Wee One requested a Minnie Mouse themed party and I was happy to oblige.  Who could turn down this sweet face?

Since school was finally out for summer, I had a little time to prep.

Invitations

We had a little photo shoot in the front yard.  It was difficult to choose the cover photo.  I petitioned my family to vote for their favorite.  This was their choice.


I printed the pictures at Costco and used the Cricut to cut out a little phrase to place on the front of the card.  I think they turned out cute.  Don't you?


Decorations

I used the Cricut to create a birthday sign.  I did not wish to spend the high price on a new cartridge so I used what I had.  I cut out circles in 5-inch and 3-inch sizes to make the mouse silhouette.  I also found a butterfly shape on my garden cartridge and used it to make Minnie's bow.  I just cut off the body and glued it into place.


Pinata

I made my own pinata to fit with the theme.  While it was a LOT of work, I am very pleased with the result.  So was Wee One!!   You can find the tutorial here!


Party Hats

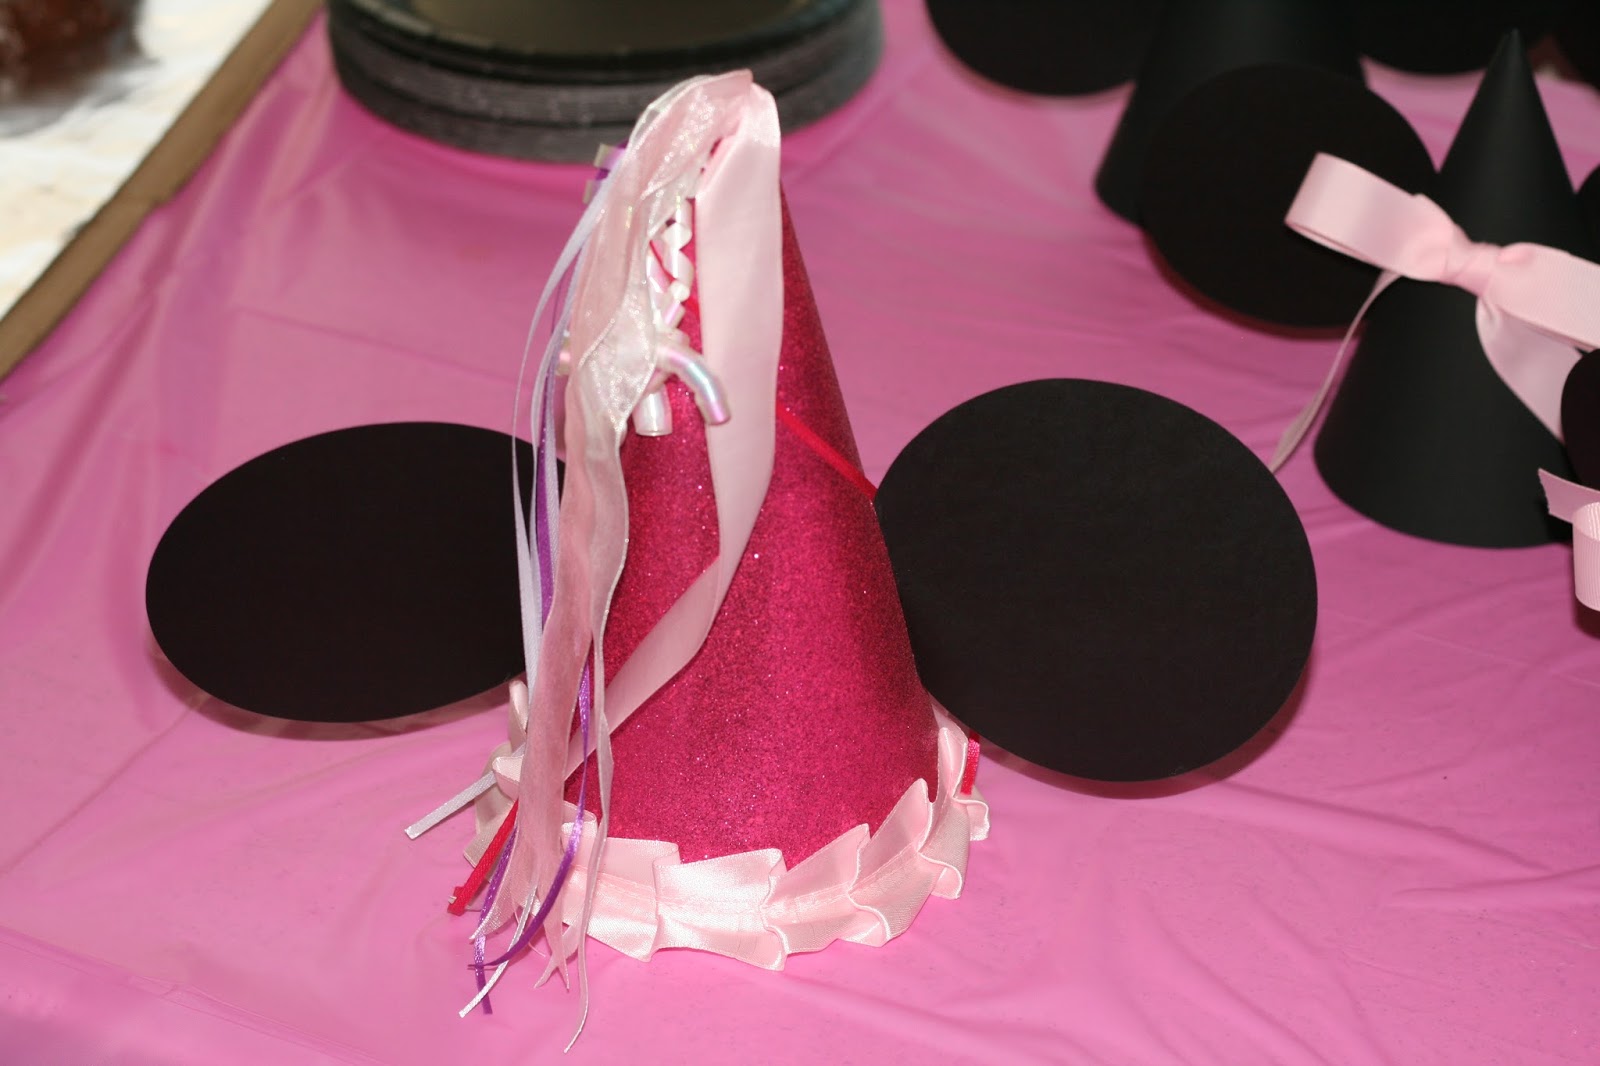
Party hats were made for the younger guests.  Of course they had to fit the theme!  You can find the tutorial here!

Games

In addition to the pinata, we played "Pin the Bow on Wee One".  It was a cute game and I found it on Pinterest.  Where?  I can't remember but if you are the one who came up with the idea, you are BRILLIANT!


Cakes

What is a party without birthday cake?  Rather, what is a party without chocolate cake?!  I made the Minnie Mouse cake by baking one rectangle cake and one round cake.  I cut two circles from the rectangle cake to make ears.  I placed together to form the iconic silhouette and frosted the entire thing.  I then added a bow shaped box lid which I found from the dollar bin at Target.  Perfect!


We also had Minnie Mouse cupcakes (thanks to Pinterest for the idea).  I made strawberry cupcakes with cream cheese frosting and adorned them with one standard Oreo and two mini Oreos for ears.  The bows were cut from a sheet of sugar purchased at Michael's.


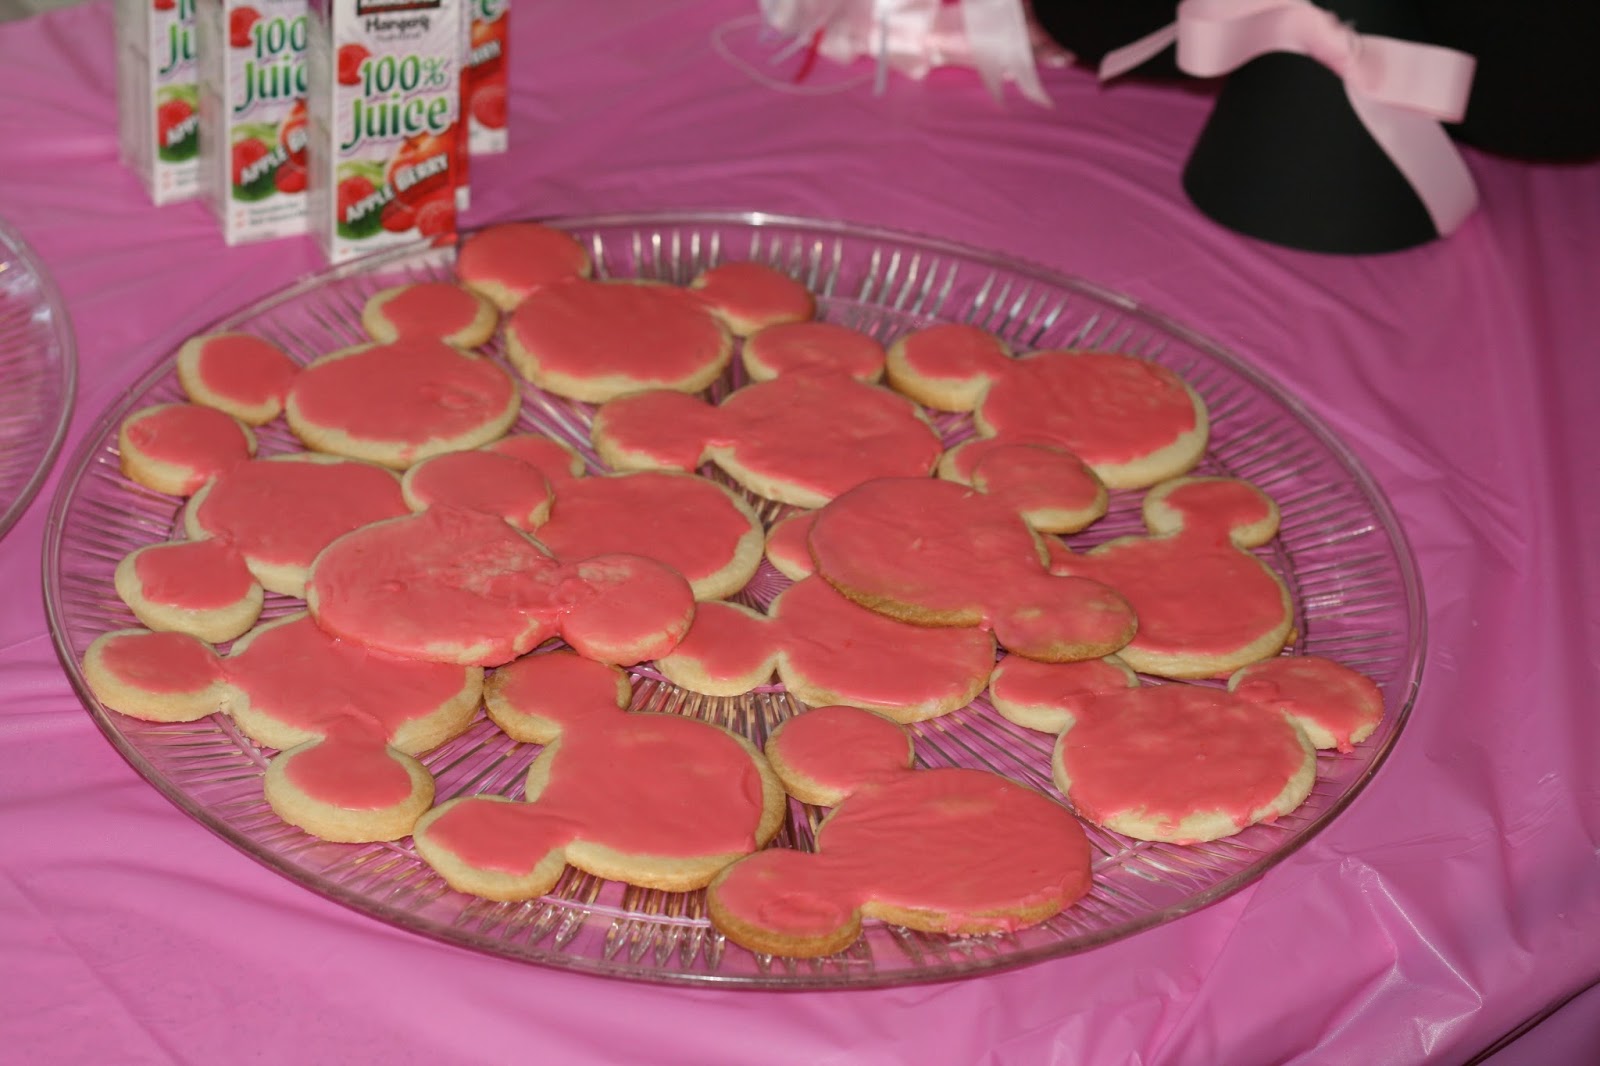
I thought about using my mouse ear cookie cutter the moment I knew we were having a Minnie Mouse party.  These sugar cookies were tricky to make as the ears kept breaking off!  What you see on this platter is the best of the bunch.  Although they did not turn out as expected, they were delicious!  The recipe for the cookies and the icing can be found at these links.


Goodie Bags

I used the Minnie Mouse heads I cut out with the Cricut, to decorate white paper bags.  I filled each one with summer time treats!  The kiddos were very excited about the popsicle molds.  I also added a thematic coloring book to each bag.  I made it by downloading black and white graphics from Google Images.


Everyone seemed to have a wonderful time... even in the 100 degree heat.


Happy 4th birthday, Wee One!  

We love you soo much!!