Showing posts with label DIY. Show all posts

Sunday, February 01, 2015

Valentine T-Shirts

We love our holidays around here!  In preparation for the upcoming Valentine's Day parties at school, I painted shirts for my littles.


Cute, right?! The best part is it is soo easy!  Here's how you can create a shirt of your very own.


1. Gather the materials.

  • Plain white t-shirt
  • Acrylic paint in seasonal colors
  • Sponge paint brush
  • Paper doily
  • Tape
  • Cardboard

2. Place the t-shirt on a sheet of cardboard to prevent the paint from bleeding through to the other side. Center the doily a couple of inches under the neckline of the t-shirt and tape into place.


3. Using the sponge brush, dab paint into the nooks of the doily.  Be sure to keep the paint within the borders of the doily.  You may need to use your finger nail to prevent it from shifting.

4. Set the shirt aside to dry.  Once dry, it can be washed and is ready to wear!


Friday, January 30, 2015

Valentine's Day Countdown

While scanning Pinterest, my favorite me-time activity, I came across this incredible idea for a Valentine Advent Calendar

Image retrieved from  http://happyhomefairy.com/2012/01/24/a-valentines-day-countdown-free-printable/

Although this was my first encounter with the Happy Home Fairy, this will certainly not be my last.  What a great idea this is!  My kids are always asking how many more days until whatever special event is next.  Since my birthday (mid January) they have been hounding me about Valentine's Day.  This perfect little printable from the HHF is just the ticket.

The printable consists of 15 Bible verses about love... and one very corny but cute joke.  In her blog post, she details how the verses can be used.
Image retrieved from http://happyhomefairy.com/2012/01/24/a-valentines-day-countdown-free-printable/

I chose to use the verses for two purposes.

After printing and cutting out copies of the verses, I gathered my materials.
  • seasonally appropriate cardstock
  • heart stickers (dollar bin at Target)
  • tape
  • string
  • scissors

I cut out 14 hearts from the cardstock and affixed a verse to each heart.

I divided the pile of hearts and cut the sheet of stickers in two and gave one set to each of my kiddos.  They had fun decorating the hearts.


Once decorated, I suspended the hearts from our living room ceiling. 

The plan is to have the children select one heart to pull down from the ceiling each night, beginning Feb 1 and ending Feb 14.  We will use the heart during devotional time by reading the verse and discussing how it applies to our lives.  We will also reinforce counting with our youngest as he counts the remaining hearts each day. 


The second way we will use these verses is by cutting them out and passing a card along to each person at services the Sunday before Valentine's Day.  We may even add a chocolate heart.  How fun to share God's love with others!  I also look forward to the experience my children will have connecting with others in the congregation.

How will you make Valentine's Day special for your family and those around you?


Tuesday, July 15, 2014

DIY Cake Picks

I love homemade desserts!  Who doesn't?!  I especially love seeing how desserts are presented.  People definitely unleash their creativity on dessert plates.  Birthday parties are no exception.

Cake picks have become HUGE in the party industry... and they aren't cheap!  I have taken to making my own cake picks to reinforce the theme.  Thus far I have crafted flowers with the child's age on them, Peppa and George Pig, monsters, tractors, Minnie Mouse, farm animals and now pirates.  With a few items and a little bit of time, it is easy to create personalized cake picks.

Here's how...

1.  Gather your materials: card stock, images, sandwich picks or coffee stirrers, hot glue gun, hot glue sticks, and Cricut, scissors, or a craft punch.


2.  Design your images and print onto card stock.  I am not a design expert but I can use Microsoft Publisher.  I usually troll on Google Images for a graphic I like and bring it into the document.  For my son's upcoming pirate party, I used this adorable pirate found here to design the front of the pick.  I copied the image to fill a page for printing.

Once printed onto card stock, cut out each circle.  This can be done by hand or with an appropriately sized round craft punch.


3.  Cut the backs of the picks out of another color of card stock, sized slightly larger than the first.  My pirates were 2-inches in diameter so I sized the backs at 2 1/2-inches and used a Cricut to cut them from black card stock.  A punch could also be used.


4.  Using hot glue, run a bead 1/4th of the way down one side of the wooden sandwich pick.  Quickly apply and center the image to the bead, then press into place.


5.  Apply a bead 1/4th of the way down the other side of the wooden sandwich pick.  Quickly apply and center the backing, then press into place.  This hides the mechanics well.


6.  Use one image for a cluster effect or create a variety to mix it up.  I added crossed swords, a cute skull and crossbones and a parrot guarding treasure.   These picks are ready to top some cupcakes!


7.  These picks also work great using coffee stirrers in place of sandwich picks for placement in guests' drinks, much like that iconic umbrella!


It's Summer!

I must admit I was a little saddened at having to take down the Independence Day decor at our place.  I absolutely adore all things Americana... with Old Glory at the pinnacle of my adoration.  Heck, my wedding was on Flag Day and was decked out in red-white-and blue!!  (This is not my house but I soo wish it were!)

Retrieved from http://media-cache-ak0.pinimg.com/736x/e8/e0/4a/e8e04aff430fc92601826761f7f622b3.jpg

As soon as the bunting, wreaths, flags and banners came down I couldn't stop staring at the emptiness.  It was as if all the cheer had left the building!  In fact, it felt a little like the day after all of the Christmas decorations are packed away.  Sad.

To fill the hole left by loss, I spent about an hour making a new banner with items found around the house.  Pulling out the Cricut, and gathering my scissors and glue, I produced a banner in the spirit of the movie Frozen.

Retrieved from http://static.comicvine.com/uploads/original/11114/111144096/3675022-0075922573-disne.jpg


That's right!  As if the world isn't already on a Frozen overload (I know at the mere mention of the movie's title everyone belts out "Let it Go!" in their own heads), here is another way to continue the magic!  I mean, it IS summer... right?!

Retrieved from http://dcfilmgirl.com/wp-content/uploads/2013/11/frozen-olaf-snowman1.jpg

I gave the activity an academic twist by getting my soon-to-be-five-year-old involved.  I had three colors of bright card stock and asked her to create a pattern.  Together, we came up with the orange-green-pink pattern.  She loved it, especially since I told her it was to help get her ready for kindergarten.  She can hardly wait for kindergarten.

I cut the 8 1/2 by 11 inch bright paper in half and set it aside.  Then, I cut 5-inch letters from card stock using a Cricut.  The kids and I went to Google Images and looked for pictures of Olaf we thought were cute and of good quality.  We printed two to flank our banner.  Once everything was prepped, we glued our letters and images to the bright card stock.  Finally, we punched holes in the top of the flags, laced them onto a string and hung it in our window. Oh, and pay no attention to the nails from the previous banner.


Wallah!  The house now sports a bit of seasonal cheer and we can celebrate the rest of SUMMER!!!  (Yes, I do know you are now singing that tune in your head.)


Thursday, July 03, 2014

ANOTHER Pinata?!!

In my last pinata post, I claimed I would likely never make another.

I caved.


The daughter turns 5 this summer and despite her endless pleas for a princess party, I convinced her to go with a farm theme.  How did I do the seemingly impossible?  First, she has many boys in her class and we felt they may not appreciate pink and sparkly the way she does.  Second, as an agricultural educator, I felt compelled to cram a little ag literacy into these kiddos before they head off to their respective kindergartens this fall.  Always teaching and advocating for the industry I love!

In order to increase my daughter's level of excitement, I gave in and told her I would make a pinata.  I am not going to go step-by-step through the process here.  Feel free to use my previous post as a reference.  Rather, I thought I would show off the form and the finished product.

Yep!  It is a chip box!!  I like the thinner cardboard because it shouldn't take as long to break into.  I reinforced all of the edges with masking tape, then added a folded piece of cardboard to serve as the roof.  I secured it to two of the box's flaps with staples and of course, more masking tape.  Then, I proceeded to cover the entire thing with red and black tissue and embellished with a couple of sets of barn doors and cute animals.


I am still considering putting straw or raffia in the barn loft.  I think it might add to the authenticity, as well as hide the mechanics used to hang this beast.  Overall, not bad!


Just a couple of weeks until it gets smashed to bits.  Until then, it will remain in my office to protect it from little hands.  :-)

See the finished, hanging product here! 


Monday, June 30, 2014

Celebrating the Pre-K Graduate with a Candy Lei!

My first born graduated from preschool last week.  Weeks before the event, my daughter began counting down to the big day.  She even practiced her songs and revealed all the special surprises her teachers had planned.  She was giddy!  I thought I was emotionally strong when we arrived to the school but as she filed onto the playground with her classmates and flashed a shy smile, the tears were instant.

To celebrate her big day, I made a candy lei.  What a fun, easy way to honor our special little graduate!

The process:


1.  Gather your materials:  Candy, cellophane, yarn or curly ribbon, and scissors.  Be sure to select non-chocolate options if the event is held outdoors or during warmer temperatures.


2.  Cut the cellophane slightly larger than the candy used.  Be sure to securely wrap the cellophane around the candy, leaving room to tie the ends.  The seam of the cellophane should be at the back of the wrapper.


3.  Use the yarn to tightly tie each end of the cellophane wrapper.


4.  Link individually wrapped candies by their ends.  Link them so the wrappers face the same direction, tying knots at the back.  This makes for a more attractive finished product.  Continue until the lei is the desired length, then link the two ends to close the loop and form a necklace.  Trim the ends of the yarn or curl the ends of the curling ribbon.  Add bows or other decorative embellishments between candies on the front side, if desired.


5.  Drape the necklace around the neck of the special graduate and wait for the smiles.  (Pay no attention to her hairdo.  Shortly after the ceremony, she ripped the hair bow off of her head.  Lovely.)


Tuesday, July 30, 2013

Minnie Mouse Birthday

A Minnie Mouse Birthday Party!


The three-year-old is turning four!  Where did the time go?


Wee One requested a Minnie Mouse themed party and I was happy to oblige.  Who could turn down this sweet face?

Since school was finally out for summer, I had a little time to prep.

Invitations

We had a little photo shoot in the front yard.  It was difficult to choose the cover photo.  I petitioned my family to vote for their favorite.  This was their choice.


I printed the pictures at Costco and used the Cricut to cut out a little phrase to place on the front of the card.  I think they turned out cute.  Don't you?


Decorations

I used the Cricut to create a birthday sign.  I did not wish to spend the high price on a new cartridge so I used what I had.  I cut out circles in 5-inch and 3-inch sizes to make the mouse silhouette.  I also found a butterfly shape on my garden cartridge and used it to make Minnie's bow.  I just cut off the body and glued it into place.


Pinata

I made my own pinata to fit with the theme.  While it was a LOT of work, I am very pleased with the result.  So was Wee One!!   You can find the tutorial here!


Party Hats

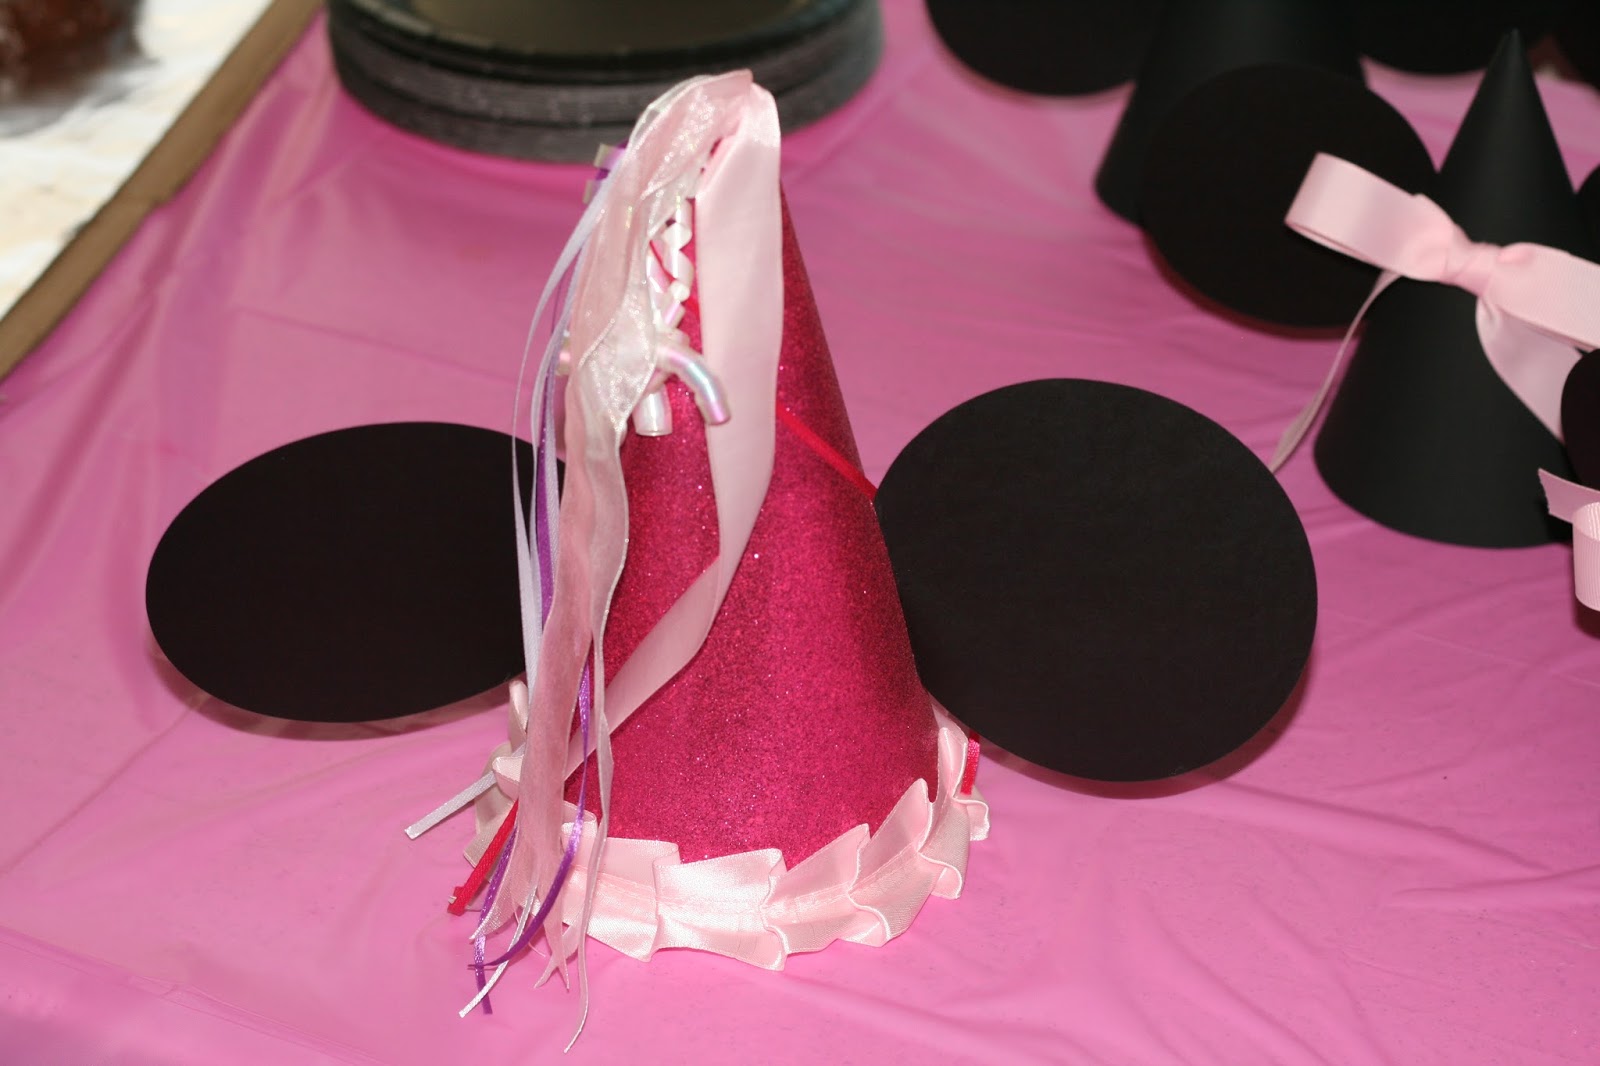
Party hats were made for the younger guests.  Of course they had to fit the theme!  You can find the tutorial here!

Games

In addition to the pinata, we played "Pin the Bow on Wee One".  It was a cute game and I found it on Pinterest.  Where?  I can't remember but if you are the one who came up with the idea, you are BRILLIANT!


Cakes

What is a party without birthday cake?  Rather, what is a party without chocolate cake?!  I made the Minnie Mouse cake by baking one rectangle cake and one round cake.  I cut two circles from the rectangle cake to make ears.  I placed together to form the iconic silhouette and frosted the entire thing.  I then added a bow shaped box lid which I found from the dollar bin at Target.  Perfect!


We also had Minnie Mouse cupcakes (thanks to Pinterest for the idea).  I made strawberry cupcakes with cream cheese frosting and adorned them with one standard Oreo and two mini Oreos for ears.  The bows were cut from a sheet of sugar purchased at Michael's.


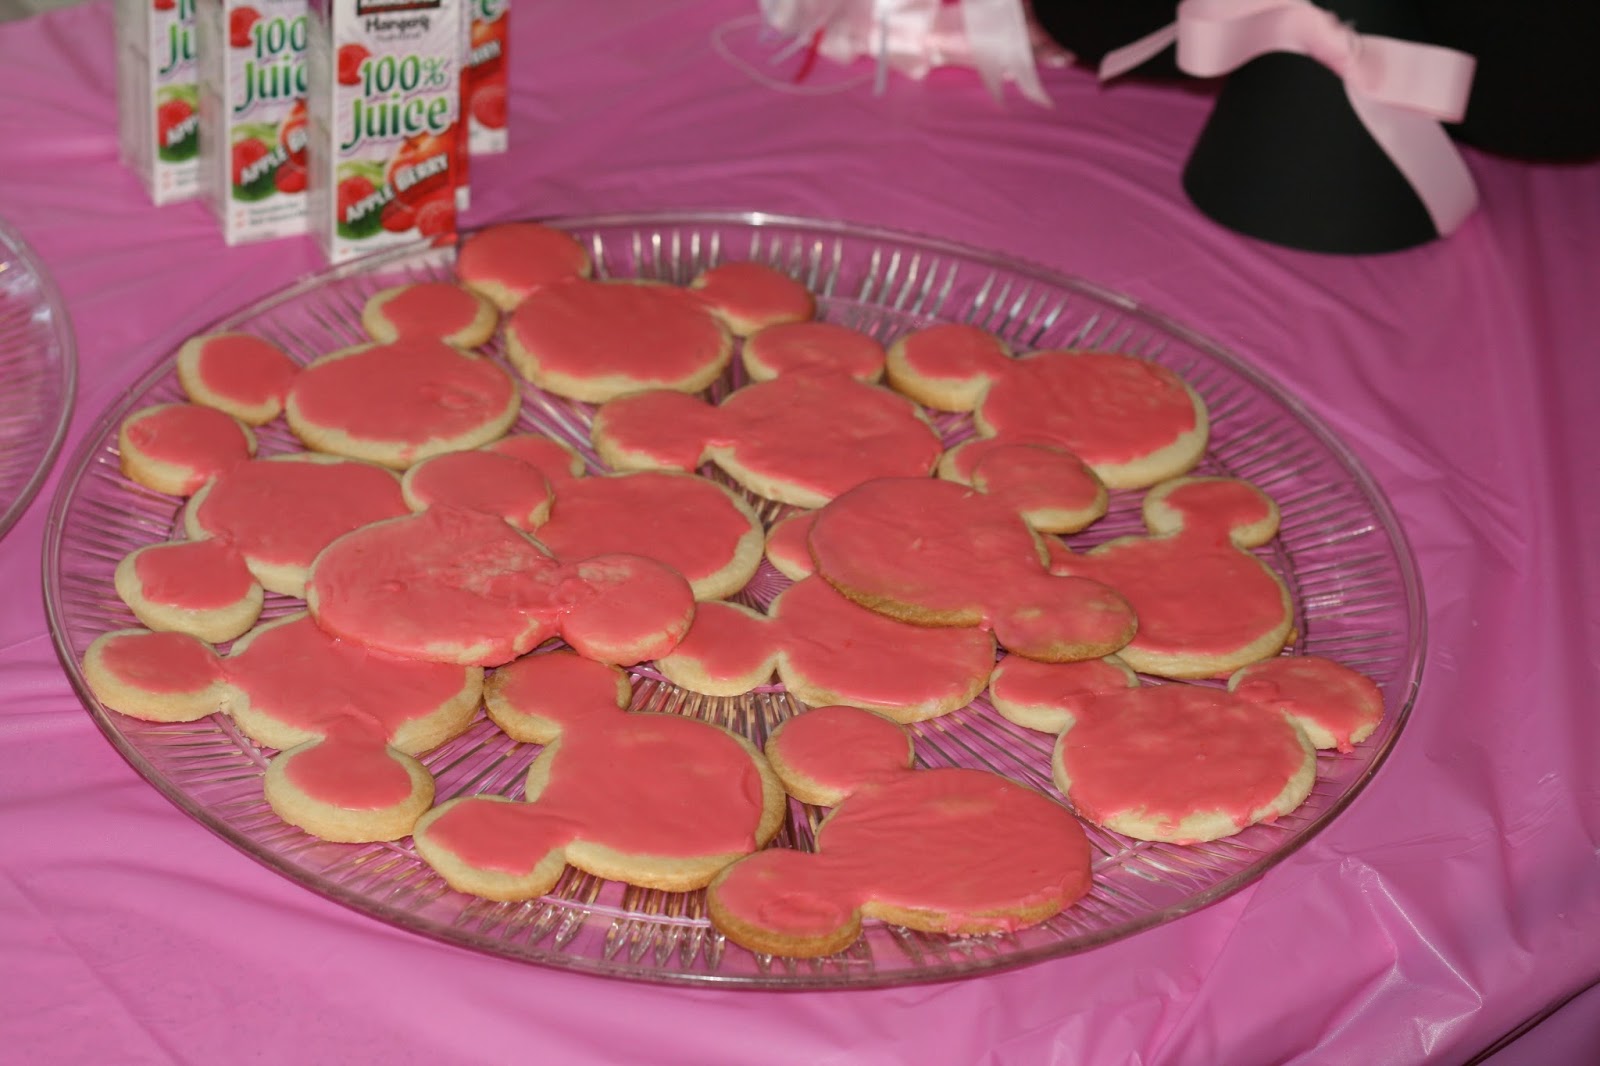
I thought about using my mouse ear cookie cutter the moment I knew we were having a Minnie Mouse party.  These sugar cookies were tricky to make as the ears kept breaking off!  What you see on this platter is the best of the bunch.  Although they did not turn out as expected, they were delicious!  The recipe for the cookies and the icing can be found at these links.


Goodie Bags

I used the Minnie Mouse heads I cut out with the Cricut, to decorate white paper bags.  I filled each one with summer time treats!  The kiddos were very excited about the popsicle molds.  I also added a thematic coloring book to each bag.  I made it by downloading black and white graphics from Google Images.


Everyone seemed to have a wonderful time... even in the 100 degree heat.


Happy 4th birthday, Wee One!  

We love you soo much!!